


A wedding album isn't complete without detail shots that were so carefully chosen and picked by the new couple on their special day. There are plenty of shots not to miss on the wedding day, we talked about Capturing Wedding Details Part I: Bridal Bling, but let's take a look at what we can do with the groom's gear.
First let's take a look at what we can do in terms of the groom's shoes and boutonniere. We're not working with the best location, a standard hotel room, so we'll take a room accent or accessory (a side table made from a piece of wood) to elevate the shoes and place the boutonniere next to them. Instead of simply blasting light right at the shoes, let's put focus them and make them pop out from the image. To do this we'll put a Rogue 3-in-1 Flash Grid on our flash with both Honeycomb Inserts added so that we get a 16º spot just on our shoes and boutonniere.


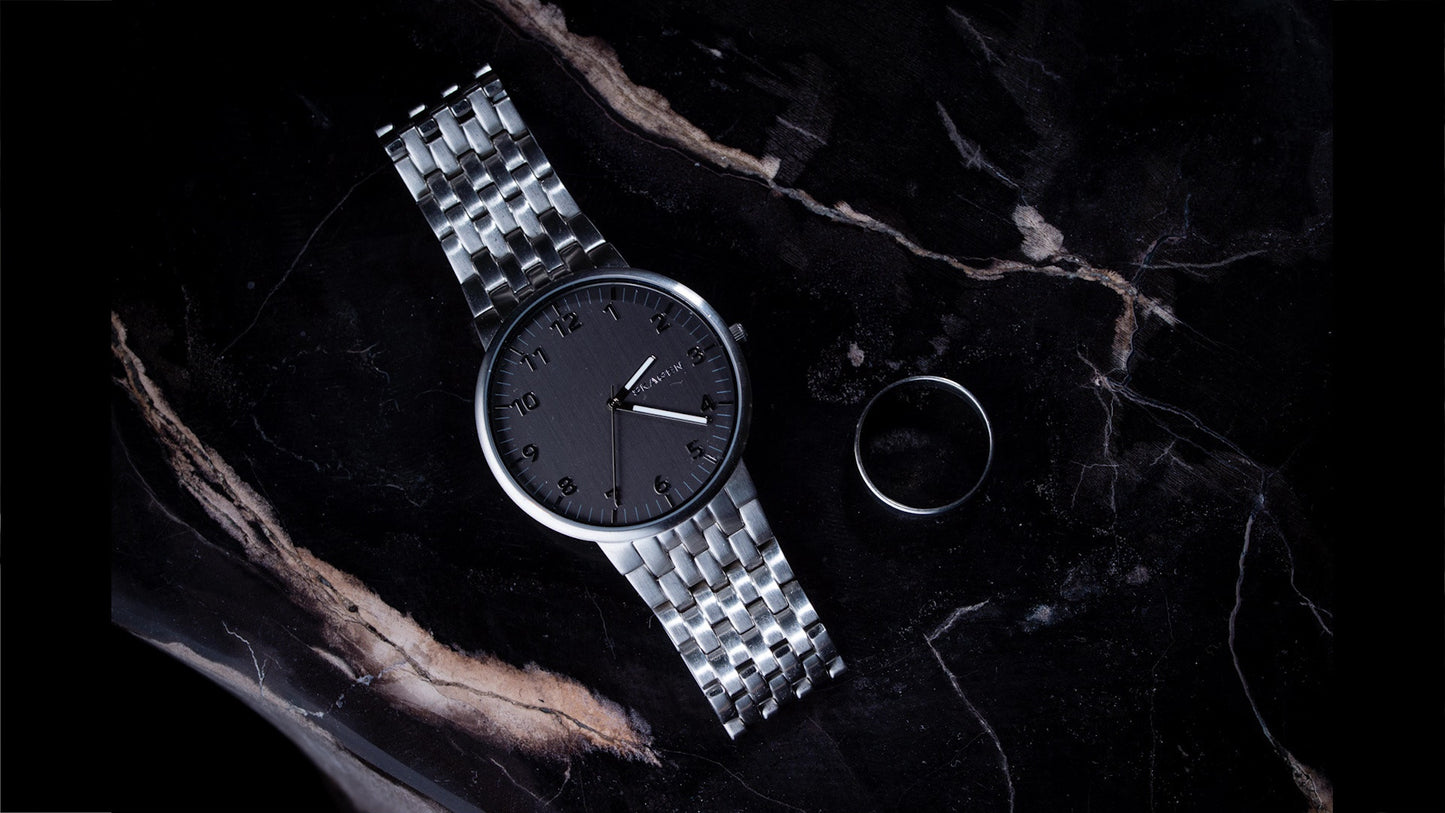
Finally we'll capture our groom's jewelry, unlike our bride our grooms jewelry may be darker in color and will require a more masculine setup. Using a marble table found in our hotel room, we can arrange his ring and watch to style, and begin setting up our lights. Because ambient light is uninspiring in a room like this, we'll use a simple one light setup, except we'll add a twist and make it seem like a two light setup. In order to do this, we'll create a cross-light situation where our speedlight with a Rogue FlashBender 2 Small Reflector rolled into a snoot is directed more towards the camera. After we have the light set up we'll bounce light back in to the foreground of our subject by using a Rogue 32" Super Soft Silver/Natural White Collapsible Reflector. This will allow the light to hit the back of the ring and watch and wrap back around with bounced light from the reflector. By not using the reflector, there's too much contrast and the shadows are underexposed.


With a few portable accessories, some careful planning, and using some room accessories found in our hotel room, we've knocked out some great shots to add to our Wedding Album for the Groom to enjoy when he returns from his honeymoon!
If you missed Part I check out how to capture details for the bride, and stay tuned for part III for tips on lighting and styling Cake Images!
Final Images:


